How to install a WordPress plugin: 3 ways, step by step
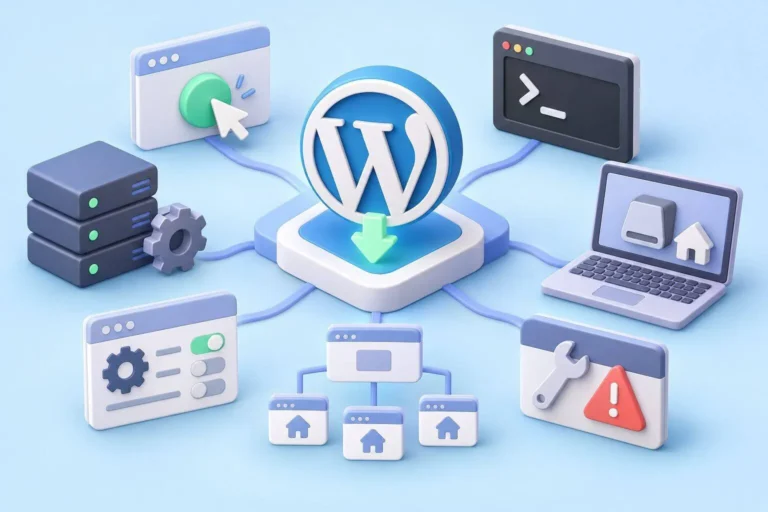
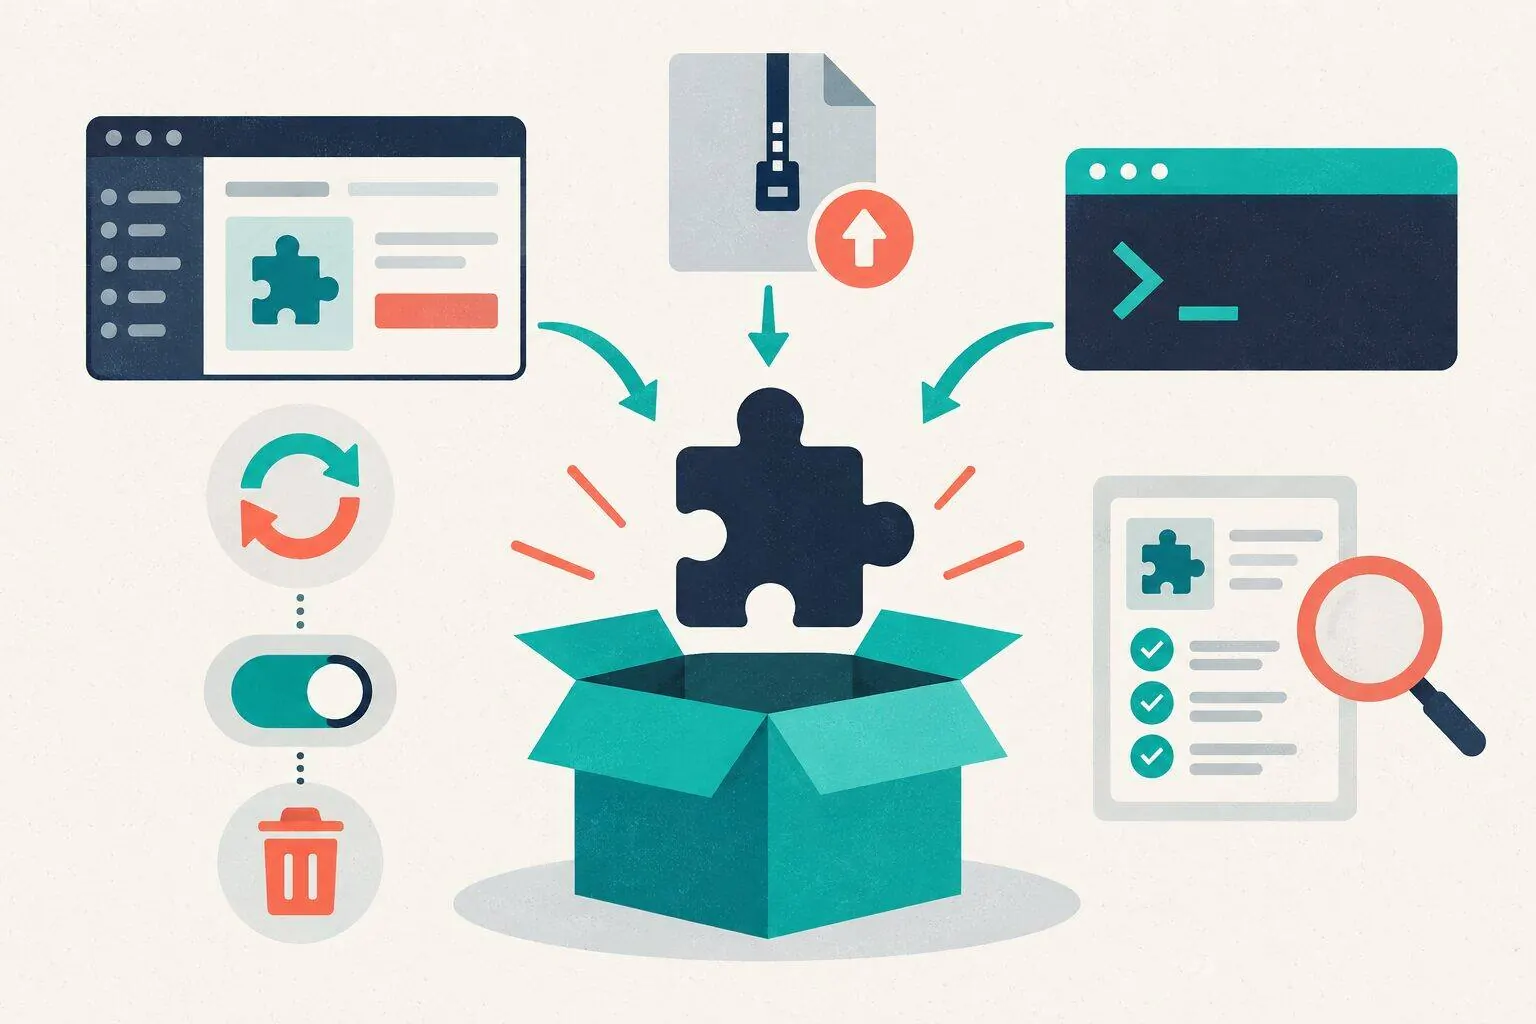
To install a WordPress plugin, log in to your dashboard, go to Plugins, then Add Plugin, search for the plugin, click Install Now and then Activate. If you have the plugin as a .zip file (a paid plugin, for example), use the Upload Plugin button on the same screen instead, and if you work on the command line, run wp plugin install plugin-name --activate with WP-CLI.
Those are the three main methods. This guide walks through each one step by step, then covers updating, the difference between deactivating and deleting, how to judge a plugin before you install it, and why some hosts and WordPress.com plans limit which plugins you can use.
Last updated: 7 November 2026
What do you need before you install a WordPress plugin?
Check four things first:
- The right account. Installing plugins needs the
install_pluginscapability. On a normal single site, that means an Administrator account. On a Multisite network, only a Super Admin can install plugins. Editors, Authors and Contributors will not see the option at all. - A site that allows plugins. Any self-hosted WordPress site does, unless your host has switched it off. On WordPress.com, the free plan does not allow plugins (more on this below).
- A recent backup. Installing a plugin is usually safe, but a backup turns any problem into a five-minute rollback. See the guide to WordPress backup plugins if you have not set one up.
- A reason. Know which job the plugin does and whether you already have something that does it. Two plugins for the same job (two SEO plugins, two caching plugins) usually conflict.
If you have not installed WordPress itself yet, start with how to install WordPress. If you are not sure which plugins you need, the list of essential WordPress plugins covers one per job.
How do you install a plugin from the WordPress dashboard?
This is the easiest method and works for any free plugin in the official WordPress.org plugin directory. The steps below follow the official Manage Plugins documentation:
- Log in to your WordPress dashboard (usually
yoursite.com/wp-admin/). - In the left menu, go to Plugins, then Add Plugin.
- Use the search box at the top right to search by keyword, plugin name, author or tag.
- Click the plugin’s name or More Details to read its description, installation notes, changelog and reviews.
- Click Install Now. WordPress downloads and unpacks the plugin.
- When the button changes, click Activate.
A note on the menu name: in the WordPress 7.1 source code, the submenu item is labelled “Add Plugin” (checked on 7 November 2026). Older tutorials and some documentation still call it “Add New”, so if a guide says “Plugins, then Add New”, it means the same screen.
Each plugin card on that screen also shows its active installations, star rating, when it was last updated and a line saying “Compatible with your version of WordPress” or “Untested with your version of WordPress”. Read those before you click Install. The section on judging a plugin below explains what to look for.
After activation, many plugins add their own menu item or a settings link, and some start a setup wizard. Go through the settings before you forget the plugin is there.
How do you install a WordPress plugin from a .zip file?
Use this method for plugins that are not in the official directory: paid plugins you bought from a developer’s site, or a plugin a developer built for you. You receive a .zip file containing the plugin’s folder.
- Download the .zip file to your computer. Do not unzip it. WordPress needs the zip.
- In the dashboard, go to Plugins, then Add Plugin.
- Click the Upload Plugin button at the top of the screen.
- Select the zip file from your computer.
- Click Install Now.
- When you see “Plugin installed successfully”, click Activate Plugin.
Paid plugins usually ask for a licence key after activation. The key is what lets the plugin receive updates, so enter it straight away and keep a copy of it with your other account details.
What if the plugin is already installed?
If you upload a zip for a plugin that is already on the site, WordPress 7.1 shows a screen saying “This plugin is already installed.” and compares the two versions. Click Replace current with uploaded to swap in the new version. This is how you manually update a paid plugin when its automatic updates are not working, for example because a licence has expired. Take a backup before you replace anything.
What if the zip upload fails?
The most common causes are:
- The file is too big. Your server has an upload size limit. Large plugins can go over it. Ask your host to raise the limit, or use SFTP or WP-CLI (below), which avoid the browser upload.
- You uploaded the wrong file. Some downloads are a zip that contains another zip plus documentation. Unzip the outer file on your computer and upload the inner plugin zip.
- WordPress asks for “Connection Information”. This screen, which asks for FTP or SSH login details, appears when WordPress cannot write to your server’s files directly. It usually means the file ownership on the server is not set up for WordPress. Your host can fix it, so you do not have to type FTP details every time.
How do you install a WordPress plugin manually with SFTP?
The official documentation describes this as a method for rare cases, such as a server that is not configured to allow installs from the dashboard. It is also useful when an upload keeps failing.
- Download the plugin zip and unzip it on your computer. You get a folder, such as
plugin-name/. - Connect to your server with an SFTP client or your host’s file manager.
- Upload the whole folder into
wp-content/plugins/. - In the dashboard, go to Plugins, find the plugin in the list and click Activate.
Upload the folder, not the files inside it. If the plugin’s main file ends up loose in wp-content/plugins/, or buried two folders deep, WordPress may not list it correctly.
How do you install a WordPress plugin with WP-CLI?
WP-CLI is the official command-line tool for WordPress. If your host gives you SSH access and has WP-CLI installed, it is the fastest way to install plugins, especially several at once. Run the commands from your WordPress folder, or add --path=/path/to/wordpress.
Find a plugin’s slug (its short name, which is also the last part of its wordpress.org address):
wp plugin search contact form --fields=name,slug,versionInstall and activate it in one step:
wp plugin install contact-form-7 --activateThe wp plugin install reference lists what else the command accepts. The most useful options:
- Several plugins at once:
wp plugin install akismet updraftplus --activate - A local zip file:
wp plugin install ../my-plugin.zip --activate - A zip from a URL:
wp plugin install https://example.com/my-plugin.zip - A specific version from wordpress.org:
wp plugin install plugin-name --version=1.2.3 - Overwrite an installed copy: add
--force. - Install the plugins it depends on too: add
--with-dependencies.
There is also --ignore-requirements, which installs a plugin even if your WordPress or PHP version is below what the author lists. Avoid it on a live site: the requirements are there because the plugin may break without them.
To see what is installed, active and waiting for updates:
wp plugin listWhat happens when a plugin needs another plugin?
Some plugins are add-ons for another plugin, such as an extension for a shop plugin. Since WordPress 6.5, plugin authors can declare this with a “Requires Plugins” header, and WordPress enforces it. According to the WordPress 6.5 announcement of plugin dependencies, an add-on:
- cannot be installed from the dashboard until the plugins it needs are installed,
- cannot be activated until they are active,
- and the plugin it depends on cannot be deactivated or deleted while the add-on is still active or installed.
The Plugins screen lists the required plugins on the add-on’s row, with links to install them. If the Activate link is greyed out, this is usually why. WP-CLI will still install an add-on without its dependencies, but it will not activate it until they are active.
How do you update WordPress plugins?
Updates fix bugs and security holes, so install them promptly. Always have a current backup first: the official documentation notes that problems can happen during an update.
You have four ways to update:
- One plugin: on the Plugins screen, find the notice “There is a new version…” under the plugin and click update now.
- Several at once: click the Update Available filter, tick the plugins, choose Update from Bulk actions and click Apply.
- Automatically: since WordPress 5.5, each plugin row has an Enable auto-updates link. WordPress checks for auto-updates twice a day and emails you after an automatic update.
- With WP-CLI:
wp plugin update --all, orwp plugin update --all --exclude=plugin-nameto hold one back.
Which plugins should auto-update? A sensible default is to auto-update well-maintained plugins with a good track record, and update anything complex (a shop, a membership system, a page builder) by hand, after checking the changelog. If the auto-update links are missing, your host or a plugin has turned the feature off.
What is the difference between deactivating and deleting a plugin?
Deactivating switches a plugin off but leaves it on the server. Deleting removes its files, and usually its settings too.
- Deactivate when you are troubleshooting or switching off a plugin for a short time. Its code stops running, but its files and settings stay, so you can switch it back on exactly as it was.
- Delete when you no longer need the plugin. To delete from the dashboard, deactivate it first, then click Delete.
Deleting from the dashboard is what WordPress treats as uninstalling. The plugin developer handbook explains that a plugin can include an uninstall routine that runs at that moment and removes its options and database tables. Deactivating does not remove that data. So delete only when you are sure: for a form plugin, for example, that can mean losing stored form entries.
Do not keep deactivated plugins “just in case”. Code that is switched off still sits on the server and still needs updating. If you might need the plugin later, note its name and reinstall it then.
Deleting with WP-CLI: delete versus uninstall
WP-CLI has two commands, and they are not the same:
wp plugin delete plugin-namedeletes the plugin’s files without running its uninstall routine, so its settings stay in the database.wp plugin uninstall plugin-name --deactivatedeactivates the plugin, runs its uninstall routine and deletes its files, which matches deleting from the dashboard.
What if a plugin breaks your site and you cannot reach the dashboard?
Connect with SFTP or your host’s file manager, go to wp-content/plugins/ and rename the plugin’s folder (for example, add -off to the end). WordPress can no longer find it, so it stops loading. Log in, fix or replace the plugin, then delete the renamed folder.
How do you judge a plugin before installing it?
Anyone can publish a plugin, and quality varies. Spend two minutes on these checks on the plugin’s wordpress.org page or its More Details window:
- Last updated. Prefer plugins updated within the last few months. A plugin untouched for a year or more may be abandoned.
- Tested up to. Should match or be close to your WordPress version.
- Requirements. Check the minimum WordPress and PHP versions. For example, the current Contact Form 7 (version 6.2.4.1) requires WordPress 7.1 and PHP 8.3, checked on 7 November 2026 in the WordPress.org plugins API. An older site would need upgrading first.
- Active installations. A high number shows the plugin is widely used and problems get noticed. A low number is fine for a niche plugin, but look harder at the other signs.
- Ratings and reviews. Read the recent one-star reviews, not only the average. They show what breaks.
- Support forum. The page shows how many support threads were resolved in the last two months. A developer who answers is a good sign.
- The developer. Click their profile. A company or developer with several maintained plugins is a safer bet than an anonymous account.
- Overlap. Does it duplicate a plugin you already have, or something your host or theme already does?
Plugins in the official directory must follow the detailed plugin guidelines. Among other rules, they must be GPL-compatible, cannot be trialware that locks features after a trial, and may not track users without their consent. That review is one reason the official directory is a safer starting point.
For paid plugins, buy only from the developer’s own site or an official marketplace. The official hardening guide advises restricting yourself to the WordPress.org repository or well-known companies. “Free” copies of paid plugins on random download sites are exactly the untrusted source it warns about.
Why do some hosts and WordPress.com plans limit plugins?
Because some plugins slow down or break the host’s systems, and some hosts already provide the same feature at server level. There are three common situations.
WordPress.com plans
WordPress.com is the hosted service, not the same thing as self-hosted WordPress. Its guide to installing a plugin says plugin installs are available on all paid plans (Personal, Premium, Business and Commerce), and free sites must upgrade to install plugins (checked on 7 November 2026). Older articles that say you need the Business plan are out of date.
Even on a paid plan, WordPress.com keeps a list of incompatible plugins that it blocks. The groups include caching plugins (because the platform has its own caching), some backup plugins (for excessive resource use), plugins that make heavy database queries and plugins that can delete core files or data. In the plugin browser, blocked plugins show “Not supported” instead of an Install button. If you upload one as a zip, it installs but cannot be activated.
Managed WordPress hosts
Managed hosts often publish a list of disallowed plugins. WP Engine’s disallowed plugins page, for example, explains that caching plugins conflict with its built-in caching and that it discourages backup plugins because they bloat the site and can store files insecurely. It also notes that a plugin can be added to the list temporarily while a security problem is fixed. If you use a managed host, read its list before you install anything in those categories.
Plugin installs switched off in wp-config.php
If the Add Plugin screen is missing even though you are an Administrator, the site may have this line in wp-config.php:
define( 'DISALLOW_FILE_MODS', true );The wp-config.php documentation explains that this constant blocks plugin and theme installs and updates from the admin area, and also disables the file editor. Agencies and some hosts set it so changes go through a controlled process. Ask whoever manages the site before removing it, or install with WP-CLI if you have access.
What should you do right after installing a plugin?
- Configure it. Default settings are rarely right for your site. Go through the settings screen or setup wizard.
- Test the job it does. Send a test form, run a first backup, check the sitemap loads.
- Check the front end. Open a few pages in a private window and on your phone. Look for layout changes or errors.
- Check speed. If the site feels slower, compare before and after.
- Write it down. Keep a short list of plugins, why each is installed and where any licence key is stored. It makes future clean-ups much easier.
What mistakes should you avoid when installing plugins?
- Installing several new plugins at once, so you cannot tell which one caused a problem. Install, test, then move on.
- Testing a big plugin on your live site when your host offers a staging copy.
- Unzipping a plugin before uploading it through the dashboard.
- Using
--ignore-requirementsor forcing an install on a PHP version the plugin does not support. - Deleting a plugin without realising its uninstall routine removes stored data.
- Leaving deactivated plugins on the server for months.
Frequently asked questions
Why can’t I see the Plugins menu or the Add Plugin button?
Your account may not be an Administrator, you may be on a Multisite network where only Super Admins install plugins, you may be on a free WordPress.com site, or the site may have DISALLOW_FILE_MODS set in wp-config.php.
Can I install plugins on WordPress.com?
Yes, on any paid plan: Personal, Premium, Business or Commerce (checked on 7 November 2026). Free sites cannot install plugins, and a short list of incompatible plugins is blocked on every plan.
Is it safe to install plugins from outside wordpress.org?
It can be, if the plugin comes directly from a well-known developer or an official marketplace. Avoid “free” copies of paid plugins from download sites, and keep paid plugins updated with a valid licence.
Does deleting a plugin remove its data?
Often, yes. Deleting from the dashboard runs the plugin’s uninstall routine if it has one, which can remove its settings and database tables. Deactivating keeps everything.
How do I install a specific older version of a plugin?
With WP-CLI, run wp plugin install plugin-name --version=1.2.3 --force. Without WP-CLI, download that version’s zip from the plugin’s wordpress.org page (Advanced View) and upload it, choosing Replace current with uploaded. WordPress.org warns that previous versions may not be secure or stable, so roll back only to fix a problem and update again once it is solved.